Pinto beans, known for their creamy texture and nutty flavor, are a versatile and nutritious addition to any garden. While traditionally grown in the ground, pinto beans can also thrive in container gardens, making them accessible to urban gardeners or those with limited outdoor space. In this article, we’ll explore the process of growing pinto beans in containers, from selecting the right container to harvesting and storing your homegrown beans.
I. Introduction
A. Overview of Pinto Beans
Pinto beans, scientifically known as Phaseolus vulgaris, are a type of common bean native to Central and South America. They are a popular ingredient in many cuisines worldwide, prized for their rich flavor and high protein content. Pinto beans are commonly used in soups, stews, chili, and bean salads, making them a staple in many kitchens.
B. Advantages of Growing Pinto Beans in Containers
Growing pinto beans in containers offers several advantages, particularly for urban or space-constrained gardeners. Containers provide greater control over soil quality, drainage, and placement, allowing gardeners to create optimal growing conditions for pinto beans. Additionally, container-grown pinto beans are portable and can be moved to maximize sunlight exposure or accommodate changing weather conditions.
C. Purpose of the Article
The purpose of this article is to provide a comprehensive guide to growing pinto beans in containers, covering everything from container selection and soil preparation to care and maintenance tips. By following the steps outlined in this article, gardeners can successfully grow and harvest their own pinto beans, whether they have a spacious backyard or a small balcony garden.
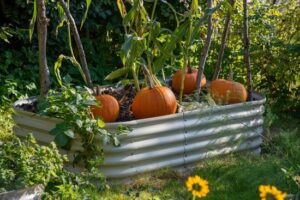
II. Selecting the Right Container
A. Container Size and Depth
When selecting a container for growing pinto beans, choose one that is large enough to accommodate the root system of the plants. Pinto bean plants have deep roots, so opt for containers that are at least 12 inches deep to allow for adequate root development. Additionally, consider the number of pinto bean plants you plan to grow and choose a container size that can accommodate them comfortably without overcrowding.
B. Drainage Considerations
Proper drainage is essential for pinto bean plants, as they are susceptible to root rot and other fungal diseases in waterlogged soil. Select containers with drainage holes in the bottom to allow excess water to escape freely. You can also add a layer of gravel or coarse sand to the bottom of the container to improve drainage and prevent water from pooling around the roots.
C. Material and Aesthetic Preferences
Containers for growing pinto beans are available in a variety of materials, including plastic, ceramic, terracotta, and fabric. Consider factors such as durability, weight, and aesthetic preferences when choosing a container material. Plastic containers are lightweight and easy to move, while ceramic and terracotta containers are more aesthetically pleasing but may be heavier and more prone to breakage.
III. Soil and Planting Preparation
A. Choosing the Right Soil Mix
Pinto beans thrive in well-draining, nutrient-rich soil with a pH level between 6.0 and 7.0. Choose a high-quality potting mix specifically formulated for container gardening, or create your own by mixing equal parts of compost, peat moss, and perlite or vermiculite. Avoid using heavy garden soil, as it can become compacted and impede root growth in containers.
B. Preparing the Container for Planting
Before planting pinto beans, prepare the container by filling it with the chosen soil mix and moistening it thoroughly. Create furrows or rows in the soil surface for planting the seeds, spacing them according to the recommended planting distance for the variety of pinto beans you are growing. Cover the seeds with a thin layer of soil and gently press down to ensure good seed-to-soil contact.
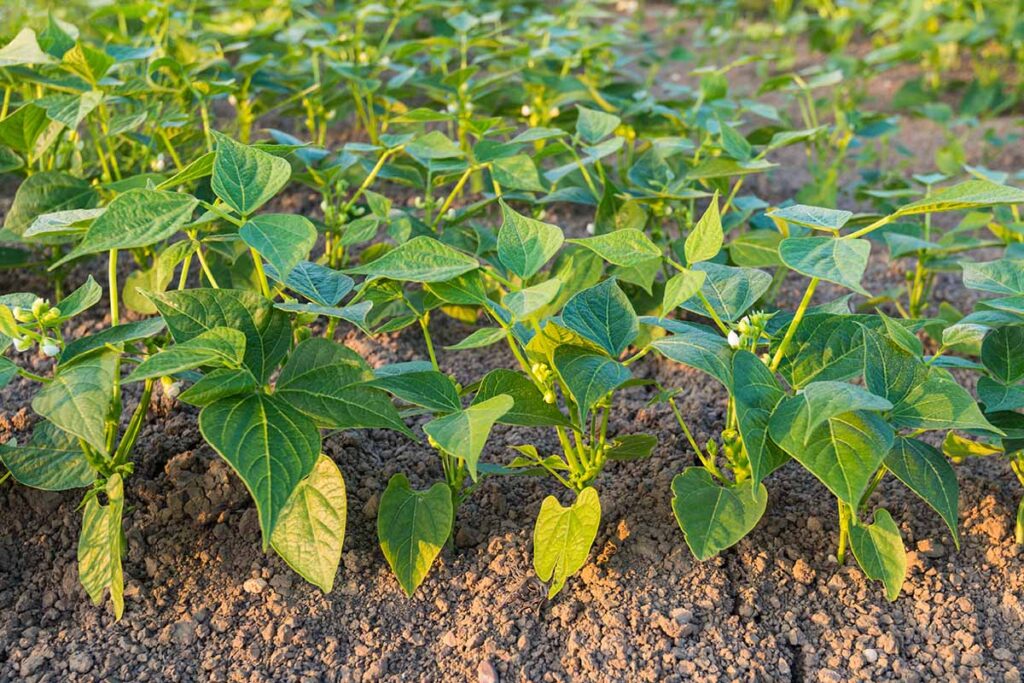
C. Sowing Pinto Bean Seeds
Sow pinto bean seeds directly into the prepared container, planting them at a depth of 1 to 1.5 inches and spacing them 4 to 6 inches apart. Water the newly planted seeds gently to avoid displacing them, and place the container in a sunny location with at least 6 to 8 hours of sunlight per day. Keep the soil consistently moist but not waterlogged, as pinto bean seeds require adequate moisture to germinate and establish.
IV. Care and Maintenance
A. Watering Requirements
Maintain consistent soil moisture levels throughout the growing season to support healthy pinto bean growth. Water the plants deeply whenever the top inch of soil feels dry to the touch, and avoid overhead watering to prevent fungal diseases. Mulching the soil surface with organic materials like straw or shredded leaves can help retain soil moisture and suppress weed growth around pinto bean plants.
B. Providing Adequate Sunlight
Pinto bean plants require full sunlight to thrive and produce a bountiful harvest. Ensure that the container is placed in a sunny location with at least 6 to 8 hours of direct sunlight per day. Rotate the container regularly to promote even sunlight exposure and prevent the plants from leaning or reaching towards the light source.
C. Supporting and Training Pinto Bean Plants
As pinto bean plants grow, they may benefit from additional support to prevent them from sprawling or toppling over. Install stakes or trellises near the container and gently tie the growing vines to the supports using soft twine or plant ties. Training the vines vertically helps maximize space in the container and promotes air circulation around the plants, reducing the risk of disease.
V. Harvesting and Storage
A. Recognizing When Pinto Beans are Ready for Harvest
Pinto beans are typically ready for harvest 90 to 100 days after planting, depending on the variety and growing conditions. Monitor the plants regularly for signs of maturity, such as dry, brittle pods and fully developed beans inside. Harvest the pods when they are completely dry and brown, but before they split open and scatter the seeds.
B. Harvesting Techniques
To harvest pinto beans, carefully remove the dried pods from the plants and open them to reveal the beans inside. Use your fingers to separate the beans from the pods, discarding any damaged or discolored beans. Spread the harvested beans in a single layer on a tray or screen and allow them to dry completely before storing.
C. Storing and Using Harvested Pinto Beans
Once dry, store the harvested pinto beans in a cool, dry place in an airtight container to protect them from moisture and pests. Properly stored pinto beans can last for up to one year or more, retaining their flavor and nutritional value. Use the harvested beans in your favorite recipes, such as soups, stews, salads, and bean dips, for a delicious taste of homegrown goodness.
Conclusion
Growing pinto beans in containers is a rewarding and enjoyable gardening experience that allows you to enjoy fresh, homegrown beans even in limited outdoor spaces. By selecting the right container, preparing the soil, providing proper care and maintenance, and harvesting the beans at the right time, you can successfully grow pinto beans in containers and enjoy a bountiful harvest of nutritious and flavorful beans. Experiment with different varieties and container setups to find the perfect combination for your gardening needs, and enjoy the satisfaction of growing your own food right at home.