
How To Remove A Kitchen Sink Faucet
Dismantling with Ease: How To Remove a Kitchen Sink Faucet
Introduction
The kitchen sink faucet is a vital component in any kitchen, but there comes a time when replacement or repair becomes necessary. Whether you’re upgrading to a new design or fixing a persistent leak, learning how to remove a kitchen sink faucet is a valuable skill. In this step-by-step guide, we’ll walk you through the process, ensuring a smooth and hassle-free removal.
Why Remove a Kitchen Sink Faucet?
Several reasons may prompt the need to remove a kitchen sink faucet. Common motivations include upgrading to a more modern design, fixing leaks, or replacing a damaged faucet. Regardless of the reason, understanding the removal process is essential for a successful replacement or repair.
Tools and Materials
Before diving into the removal process, gather the necessary tools and materials:
- Adjustable wrench
- Plumber’s tape
- Plunger
- Bucket
- Plumber’s putty
- Plumber’s wrench
- Basin wrench
- Screwdriver
Steps to Remove a Kitchen Sink Faucet
1. Turn Off Water Supply
Before starting the removal process, shut off the water supply to the faucet. Locate the shutoff valves beneath the sink and turn them clockwise to close.
2. Release Pressure
Turn on the faucet to release any remaining water pressure. If there’s a sprayer, disconnect it by pressing the trigger to release any water left in the line.
3. Disconnect Water Supply Lines
Use an adjustable wrench to disconnect the water supply lines from the shutoff valves. Place a bucket beneath the lines to catch any residual water.
4. Remove the Sprayer Hose (If Applicable)
If your faucet has a sprayer, disconnect the sprayer hose. Usually, there will be a nut connecting it to the faucet assembly. Loosen the nut with a wrench and detach the hose.
5. Loosen the Mounting Nut
Locate the mounting nut securing the faucet to the sink. Use a basin wrench to loosen the nut by turning it counterclockwise. If the nut is too tight, apply penetrating oil to ease the process.
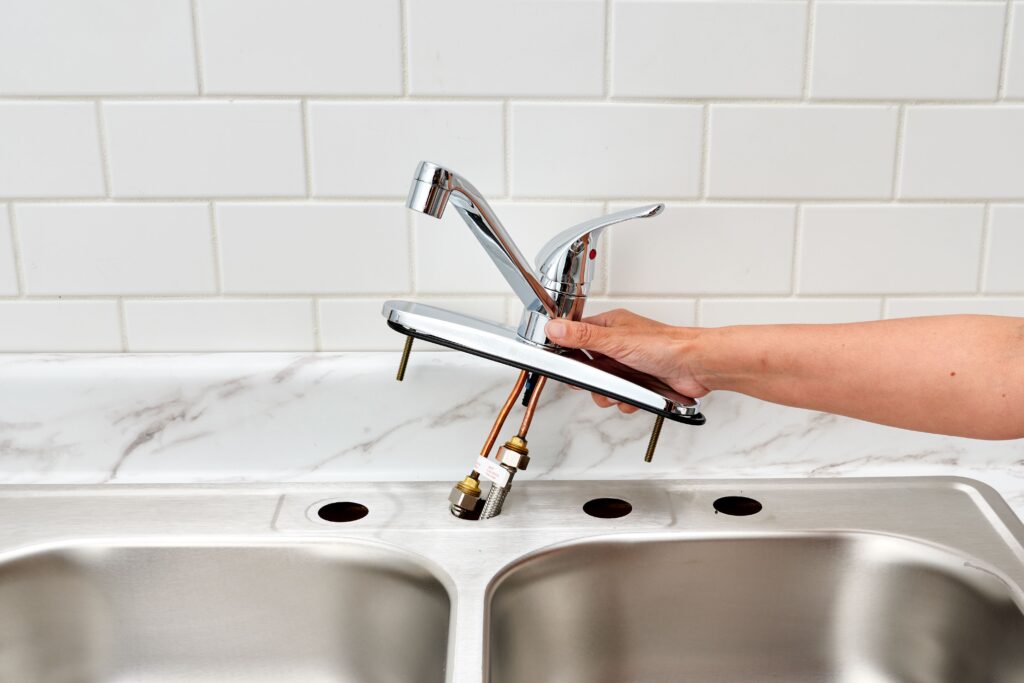
6. Detach the Faucet
Once the mounting nut is loosened, lift the faucet up and out of the sink. If the faucet seems stuck, gently wiggle it from side to side while lifting.
7. Remove the Escutcheon Plate (If Applicable)
If your faucet has an escutcheon plate covering additional holes in the sink, unscrew it to reveal the holes. This step is necessary if you plan to install a new faucet with a different hole configuration.
8. Inspect the Sink Surface
After removing the faucet, inspect the sink surface for any leftover putty or debris. Clean the area thoroughly to prepare for the installation of the new faucet.
9. Prepare for Installation
If you’re installing a new faucet, follow the manufacturer’s instructions for preparation. Apply plumber’s putty or install a rubber gasket, depending on the faucet design.
10. Install the New Faucet
Follow the manufacturer’s instructions to install the new faucet. Secure the mounting nut, connect the water supply lines, and test the faucet to ensure proper functionality.
Frequently Asked Questions
Q1: Can I remove a kitchen faucet without turning off the water supply?
A1: It is strongly advised to turn off the water supply before attempting to remove a kitchen faucet to prevent water damage and ensure safety.
Q2: What do I do if the mounting nut is stuck?
A2: Apply penetrating oil to the stuck mounting nut and let it sit for a few minutes. Use a basin wrench to try loosening it again, applying gradual pressure.
Q3: Do I need plumber’s tape when reassembling the new faucet?
A3: Yes, plumber’s tape helps create a watertight seal and prevents leaks. Apply it to the threads of the water supply lines before reconnecting them.
Q4: Can I reuse the old water supply lines?
A4: It is generally recommended to replace old water supply lines with new ones, especially if they show signs of wear or corrosion.
Q5: How often should I replace a kitchen faucet?
A5: The lifespan of a kitchen faucet depends on factors such as usage and water quality. Generally, replacing a faucet every 10-15 years is advisable.
Q6: What if I encounter corrosion during removal?
A6: Corrosion can complicate removal. Use penetrating oil, a wire brush, or a corrosion dissolver to address rusted or corroded parts.
Q7: Can I replace a single-handle faucet with a double-handle one?
A7: It is possible but may require additional plumbing work. Ensure the new faucet is compatible with your sink and meets local plumbing codes.
Q8: Do I need a professional plumber to remove a kitchen faucet?
A8: While it’s a DIY-friendly task, if you’re uncomfortable with plumbing or encounter complications, hiring a professional plumber is advisable.
Q9: Can I remove a kitchen faucet without a basin wrench?
A9: A basin wrench is highly recommended for faucet removal, but in its absence, an adjustable wrench or pliers may be used. However, a basin wrench offers better leverage in tight spaces.
Q10: How can I prevent water damage during the removal process?
A10: Place a bucket beneath water supply lines to catch any residual water. Keep towels handy to wipe up spills promptly and prevent water damage.
Conclusion
Learning how to remove a kitchen sink faucet is a valuable skill for any homeowner. Whether you’re upgrading your kitchen decor or addressing plumbing issues, following a systematic removal process ensures a smooth transition. Armed with the right tools, materials, and knowledge, you can confidently dismantle your old faucet and prepare the sink for a shiny, new upgrade.